
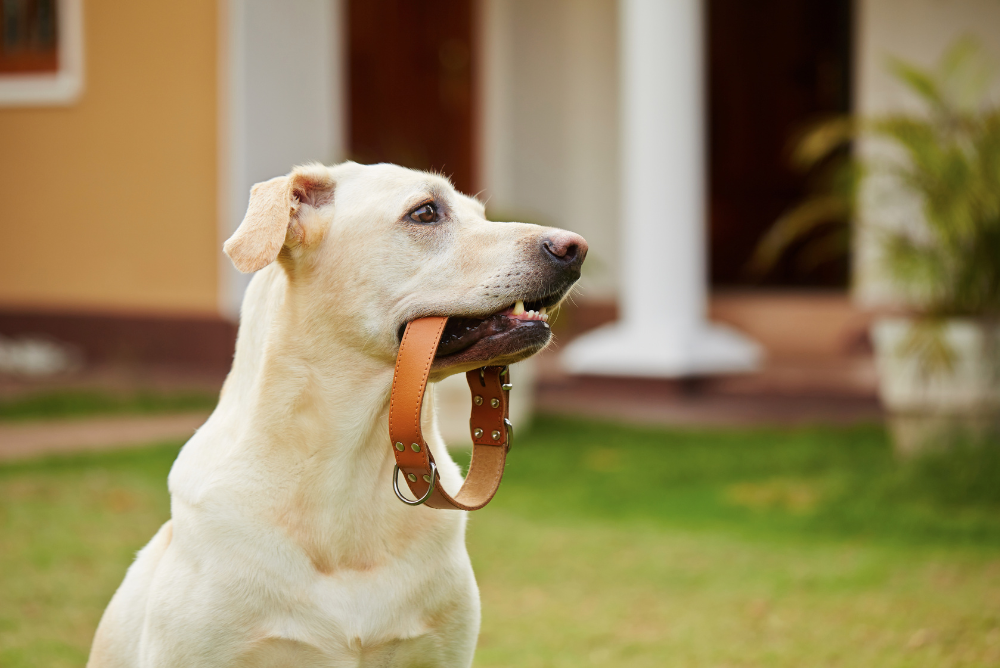
Learn How To Sew Dog Collar. Making your dog is the ideal opportunity to design a unique accessory that matches your dog’s personality. Additionally, you can ensure that the collar is the ideal length for your dog’s neck and is composed of the premium components your pet deserves.
Is this your first time constructing a dog collar from scratch? Do not worry! Mimi Green demonstrates how to make a dog collar in the following stages. It’s crucial to remember that using a sewing machine is a skill that must be acquired before producing a dog collar using these instructions.
Before You Begin Making Your Dog Collar Know These Things
Step 1: Select Your Materials
The most important step is selecting your supplies (figure 1). Nylon webbing is a common collar material with or without an overlay. Do you desire a striking appearance? The solution is to select an azure blue nylon webbing. On the other hand, black or grey webbing is a wonderful option if you want a more understated, elegant appearance. A collar with a velvety texture can also be made with a velvet ribbon. You should choose your material while keeping a practical mindset in mind. An excellent choice is a nylon webbing collar with a plastic side release buckle if your dog is active and spends a lot of time outside.
Additionally, you must decide on the type of buckle you want. Side-release buckles come in plastic, hybrid, and zinc diecast varieties. You can choose to have a side-release buckle personalized with your dog’s name and contact information.
Step 2: Take Dimensions
Then, to determine the precise measures for cutting your materials, you should measure the dog’s neck. Wrap a fabric tape measure around your dog’s neck in the middle, a few inches below the base of its head. When fitted properly, two fingers can comfortably fit between the collar and the dog’s neck. Remember that the finished item will be shorter than your dog’s measurements. Thus your material should be several inches longer. Later on, we’ll talk about how to pick particular dimensions.
Step 3: Resources You'll Need
Make sure you have all the necessary tools and materials before building your dog collar. The items you’ll need are listed below:
- Sewing Device
- Your option Wraparound or ribbon. (optional)
- Nitrile Webbing
- Sewing machine with Contoured Side Release Buckle, Triglide Slide, and D-Ring
- Iron \sThread \sScissors
- Tape Measure Spray Starch (optional)
Step 4: Trim the Materials
Depending on the size of your dog, you will need to cut your materials according to certain measurements. Once more, as a general rule, you should cut the cloth longer than you want the collar to be because the end length will inevitably be shorter. Depending on the size of the dog’s neck, you should use approximately the following amount of material:
- Small (11 to 13-inch neck size): 24.5 inches for the fabric and 22 inches for the leather or nylon.
- Medium (13 to 15-inch neck size): 25 inches of leather or nylon webbing and 27.5 inches of fabric
- Large (13 to 15-inch neck size): lengths of 33.5 inches for the fabric and 31 inches for the leather or nylon.
Additionally, if you choose to deal exclusively with nylon webbing, there are a few measures you are advised to follow to produce a durable product. It’s crucial to burn each end of the nylon webbing with a lighter because the material is prone to unravelling when cut. This will cause the fabric to melt together and stop it from fraying.
Step 4: Prepare your fabric and sew it
Spray starch on the fabric you intend to use before beginning to sew. The fabric should be smoothed to remove creases using a garment iron. You’ll start sewing the fabric into a long tube shape. Sew the fabric inside-out, so the stitching is concealed using a sewing machine. After that, trim off any extra fabric. When the cloth is finished stitched together, carefully flip it over so the pattern is showing correctly and it is no longer inside-out. Many methods exist for achieving this.
The Chopstick Method is one technique for flipping the fabric correctly. You will put a tube into the fabric using this technique. You will use a chopstick to direct the fabric into the tube’s center once it reaches the fabric’s closed end. Insert your webbing or leather through the cloth once the right side is exposed. Ensure that the fabric is adjusted, so the seam is parallel to the edge of the leather or nylon webbing.
Advised for first-time producers: Additionally, think about sewing a ribbon, such as the single-sided velvet ribbon, grosgrain ribbon, or another of your choosing, to the top of the webbing for a stylish collar with less effort.
Step 5: Set up the canine collar
Once the fabric and webbing or leather are in place, starch the dog collar once more and smooth it down with a garment iron to eliminate wrinkles and give it a professional appearance.
Step 6: Attach them by sewing
After the materials are smoothed out, use a sewing machine to sew the webbing and the cloth together using a seam down on either side of the collar (figure 2). Make sure the thread completely pierces both materials by checking twice. The size of the collar determines how far the stitching is from the edge. The collar will be further away from the edge as it becomes bigger. Typically, the stitching should be no more than 14″ from the edge.
Step 7: Put the Tri-Glide together
It’s time to put the collar together after the materials have been stitched together. The tri-glide should first be attached to the collar (figure 3). The collar component that allows you to change the collar’s size is called the tri-glide. The shorter side of the webbing strap will then be sewn to the longer side.
Step 8: The Side Release Buckle
Put the strap through the male side of the side and release the buckle once done. It would help if you did this by threading the webbing through the buckle’s male end. The strap should then be woven back through the tri-glide.
Step 9: Attach the D-Ring and the other half buckle.
Overlap the D-Ring with the strap’s opposite end. Then, pull the strap through the buckle’s female end until it reaches the length you want. Figuring 7 Next, make a triple stitch to firmly anchor the female end of the buckle in place by sewing forward, backwards, and forward once more.