
Do you How To Install Underground Dog Fence. Underground dog fences, or invisible fences, are an effective way to make your yard look open while keeping your dog from escaping. These fences use an underground wire setup to transmit a shock to the dog’s collar whenever it goes outside the bounds of the system. They can be installed in a few hours, but training your dog to understand its limits can take time. Underground dog fences take some dedication to install. Still, once it’s set up and your dog stays within the boundaries, you won’t have to use traditional fences to confine your dog and won’t have to worry about your dog escaping.
Planning the Electric Fence
- Plan the exact confines of the area in which you wish to contain your dog. This will allow you to buy the exact amount of wire—plant marker flags around the yard to mark where you will eventually lay the wire underground. Underground dog fences are effective because they allow you to plan around oddly shaped yard features, whereas above-ground fences must usually be built in a straight line.
Underground dog fences are mostly used to keep a dog from running away, but they can also prevent your dog from entering areas you don’t want it to. For example, you can lay wire around a garden or a hot tub.
- Measure the length and width of the area where you want to contain the dog. Using a large tape measure, take note of the size of the area in which you plan to install the dog fence. You don’t need to take measurements of the house, as the dog won’t be able to break through your home’s walls. Just know how long the wire should be to fully surround the area you want to contain your dog in.
This ensures that when you buy the wire, you don’t spend more than you need to and can get a precise length.
- Buy the transmitter, shock collar, and wire at a pet or hardware store. Most underground dog fence sets will come with wire and a transmitter and are effective anywhere from 25 to 500 acres or more, depending on their strength. Be sure to buy a set with enough wire to surround the area you want to contain your dog.
- Find a good place to keep the transmitter inside, and ground it. The transmitter should not be kept near a breaker, appliances, or other sources of possible electrical interference. Keeping it in a garage is usually a safe bet, but keep it away from anything that could interrupt the system. Grounding the transmitter can prevent major damage by separating the system from other sources of electrical interference and should be done according to the user manual that comes with your transmitter. [3]
Use a surge protector to ensure the fence stays on during electrical interference. If the power goes out, bring your dog back inside until the underground fence is reactivated.
Beginning Installation
1.Lay the wire above ground along the marker flags you placed earlier. Lay the wire as straight as you can across the boundaries of the confined area, and make sure that you have enough wire to make it back to the starting point. Be sure to round off any 90-degree angles, as some transmitters won’t recognize the sharp turn correctly.
Avoid twisting the wire as best as possible, as this can cause issues with the transmitter signal, and the wire won’t be effective in patches along your boundary.
2.Connect the wire to the transmitter and test the system and collar. You don’t need to lay the wire underground to test the system. Plug both ends of the wire into the transmitter and turn it on. After attaching the receiver to the collar, walk over the wire in a few different locations — you should hear a “beep” when the collar is close to the boundary.[5]
As obvious as it might seem, do not wear the collar to test it, and don’t touch the metal to feel a shock. The shock is mild but uncomfortable – it should make a sound to let you know it is functioning correct3
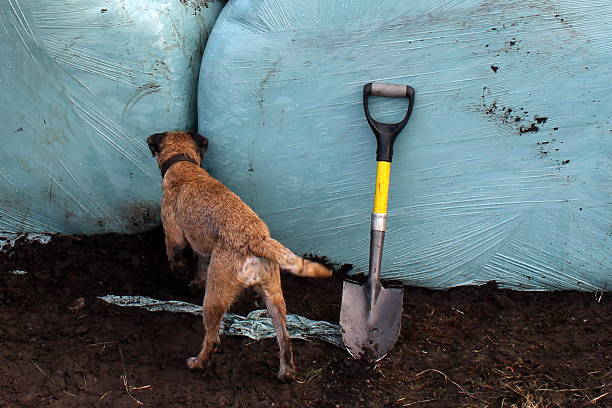
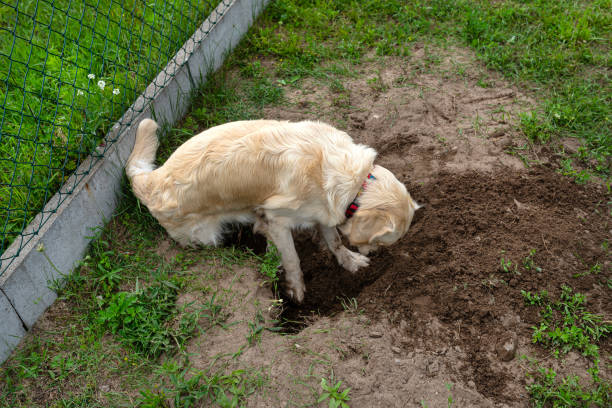
Along the marking flags, create a 3 to 12 in (7.6 to 30.5 cm) deep hole. Create a narrow trench below the yard’s surface using a shovel or gardening trowel so the wire may be laid in it. [6] Keep the flags in place so that your dog may learn the location of the yard’s limits.
Refrain from digging too deeply because if you do, the transmitter can only pick up signals from the wire when your dog crosses the boundary.
The wire can be laid on top of the grass to get the same result, but it is advised to place it just below the surface to avoid stumbling over it or unintentionally cutting it with a lawnmower.
4.The cable should be buried, covered with earth, and tested once again. As you walk around the garden, carefully bury the wire in the dirt you previously dug out. Avoid leaving any wire above ground, so you don’t trip over or unintentionally cut it when mowing the lawn. Prepare to train your dog and test the system in several locations to ensure it works as intended.
If you choose not to bury the wire, try to conceal it and tuck it as deeply into the ground as you can.
How to Train Your Dog
- After your dog becomes acquainted with it, attach the receiver to the shock collar. For some dogs, the receiver and shock collar might be quite heavy, so get one that suits them well. With mild shocks and cautions, you want to nudge your dog correctly without actually hurting them. Before you start training, the collar should be comfortable to wear.
Consider purchasing a stronger shock collar or an adjustable strength setting if your dog doesn’t respond to the current shock collar.
Consider purchasing a collar that emits citronella when your dog crosses the line if they continue disregarding the shocks. This is more effective on large dogs and compassionate than a shock collar.
2.Walk your dog on a short leash to the boundary every hour. Show your dog the entire area of the yard to explore by taking them to a few locations. Keep it inside or outside on a short leash when you are not training your dog. [8] The dog will typically be able to locate the invisible barrier for two days or longer with consistent hourly training.
Allowing them to breach the line even once will force you to restart from scratch.
3.Quickly pull the leash when the shock collar beeps on the first day. Please keep your dog from going any further when it gets close to the wire fence by pulling it back to you. This will train your dog to return when it hears a beep and where the yard’s boundary is.
Your dog will learn the boundary through visual reinforcement rather than only sound and shock if you leave your marking flags in the ground. To help your dog learn its boundaries, leave the flags up for a few days after you are done training.
4. On the second day, let your dog learn the limit. Take your dog outside on a tight leash to various locations along the underground fence every hour, following the same procedure as the first day. Allow your dog to explore the location of the invisible boundary without pulling the leash too hard; the shock collar will beep and release a light shock if your dog approaches too closely.
Your dog should learn to avoid being shocked on their own, but if they are over the line, swiftly pull them back.
5. Reward your dog every time it stays outside the line. After drawing your dog abruptly away from the underground fence, you can initially give it a treat. Reward it when they successfully avoid the boundaries on their own on the second day. [10]
If your dog is trained in simple commands like “sit,” ask it to sit at the boundary to deepen your comprehension. Give your dog plenty of praise and rewards whenever they comply with your instructions.
6. After you’re certain that your dog is aware of its boundaries, let it run free. Your dog ought to comprehend the limit after a few days of instruction. Allow your dog to run free, but keep a watch on it to ensure it stays within the confines of the underground fence.
You should repeat the training each day until your dog learns the limit if it still doesn’t comprehend where the barrier is.
If your dog doesn’t respond to the shock collar, you could get a citronella spray collar or increase the collar’s power.
Keep a check on the power of your transmitter and shock collar batteries. The majority of manufacturers advise replacing the batteries every three to six months.
Best overall: PetSafe Basic In-Ground Fence System
The PetSafe Basic In-Ground Fence System is at the top of our list of the finest underground dog fences. In terms of underground fences, it’s a straightforward configuration that will enable you to get it operational within a weekend.
The boundary wire that comes with PetSafe’s system can enclose a quarter of an acre, but you can add another boundary wire to increase the coverage area to five acres! With collars that fit necks between 6 and 28 inches, the fence is approved for dogs 8 pounds and bigger.
The ability to accommodate many dogs—and dogs of various sizes—is one of this system’s greatest features. And it is feasible since each collar has a static setting adjustment. Therefore, you can increase the shock for larger canines while decreasing it for smaller puppies.
In addition, the “shock” is not a painful zap. Instead, it’s more of a subtle static correction that will startle and teach your dog to respect the boundaries marked with flags. Fifty unique flags are included with the PetSafe fence so your dog can readily see where they should and shouldn’t be.
The PetSafe Basic In-Ground System is a great option for protecting your pet.
Final Reflections
Underground wire systems can be incredibly effective at keeping your dog near to home with appropriate installation and continuous training. These devices are affordable and easy to install. They may also work well for lots with unusual shapes or uneven terrain. Installing an underground wire electric system may be your only alternative if local laws prevent you from constructing a physical fence for you and your pet. Following the instructions in this post, I hope you can build an electric dog fence confidently and establish boundaries for your pet.